Monday, February 4, 2013

Suspension is Done!!!!

The suspensions is finally done. Everything worked out great. There are a few issues to work out. The main one is that fact that i need to probably make a new crossmember. I need to do this for a few reasons.

1. the camber curve isnt quite right for the suspension combo that i have
2. i am maxed out on the lca length which means i cant get more positive than -2° camber
3. i need to make a mount for the subaru forrester power steering rack that i am going to run


Engine Lift

I decided that it was necessary to fabricate an engine bracket for lifting the engine in and out of the car. I didnt want to half ass this part since i could damage my engine by using chains that werent sized for the engine. I think i did a pretty decent job for an S54 (e46 M3) engine lift. there are two problems i can see with this lift. first is the fact that it uses the transmission mounting bolts which means you need clearance in the trans tunnel to take the bracket off. Also you need some clearance around the cowl of the car since i decided to use some stiffening braces on the back mount plate. i will probably cut these down later to clear my cowl


Wednesday, October 31, 2012

Datsun has a new heart

Im almost finished welding up the uprights for the car. overall i think this has been worth even if i am not changing the geometry. also the Z has a new heart. i know this wasnt the engine everyone was expecting: vq35de; but this was a great deal and the inline six purists got to me. also i started to look at the engine weights. even though this is a inline and is an iron block it isnt that much heavier. the s54 is probably 70 pounds heavier the vq35de also is a v6 which im not particularly fond off despite it being strong in every other aspect. now i cant change my mind anymore :)


Wednesday, September 19, 2012

Waterjet Parts, TTT Parts, and Cowl Repair

I got a large shipment of parts. i got a bunch of TTT parts and the waterjet parts that i need to weld up my corners.

I am also going to explain how i repaired my cowl and flushed the wiper holes. I wouldnt normally post tutorials but this mod is very tricky. i messed up my first one due to warping. Anyways you will need to go very slow with the welding and spread it out. i did about 1-2 tacks every 1 minute. I wouldnt go any faster than this. also make sure that the patches fit flush with no gaps. I used a vise grip to keep the patches flush with the parent panel when tacking them in place.

After all the welding was done i hammered the panel as flat as i could make it. the next step is to grind the weld down. go slow you dont want to warp it with to much heat. also i left the rolled lip on the underside of the wiper arms to minimize distortion, but you need to grind this down when your done so that you can shape the metal easier. Another trick is to angle the flap wheel at ~80 degrees to feather the weld bead down without taking alot of metal off. Hopefully the panel is still pretty flat and not warped. mine was still a little warped and i had to use a blow torch to heat the metal and a wet rag to rapidly cool it. this shrinks the metal and gets rid of the "oil" can effect.

Hopefully all these tips will help you repair your cowl and/or flush your wiper arm holes


Saturday, September 8, 2012

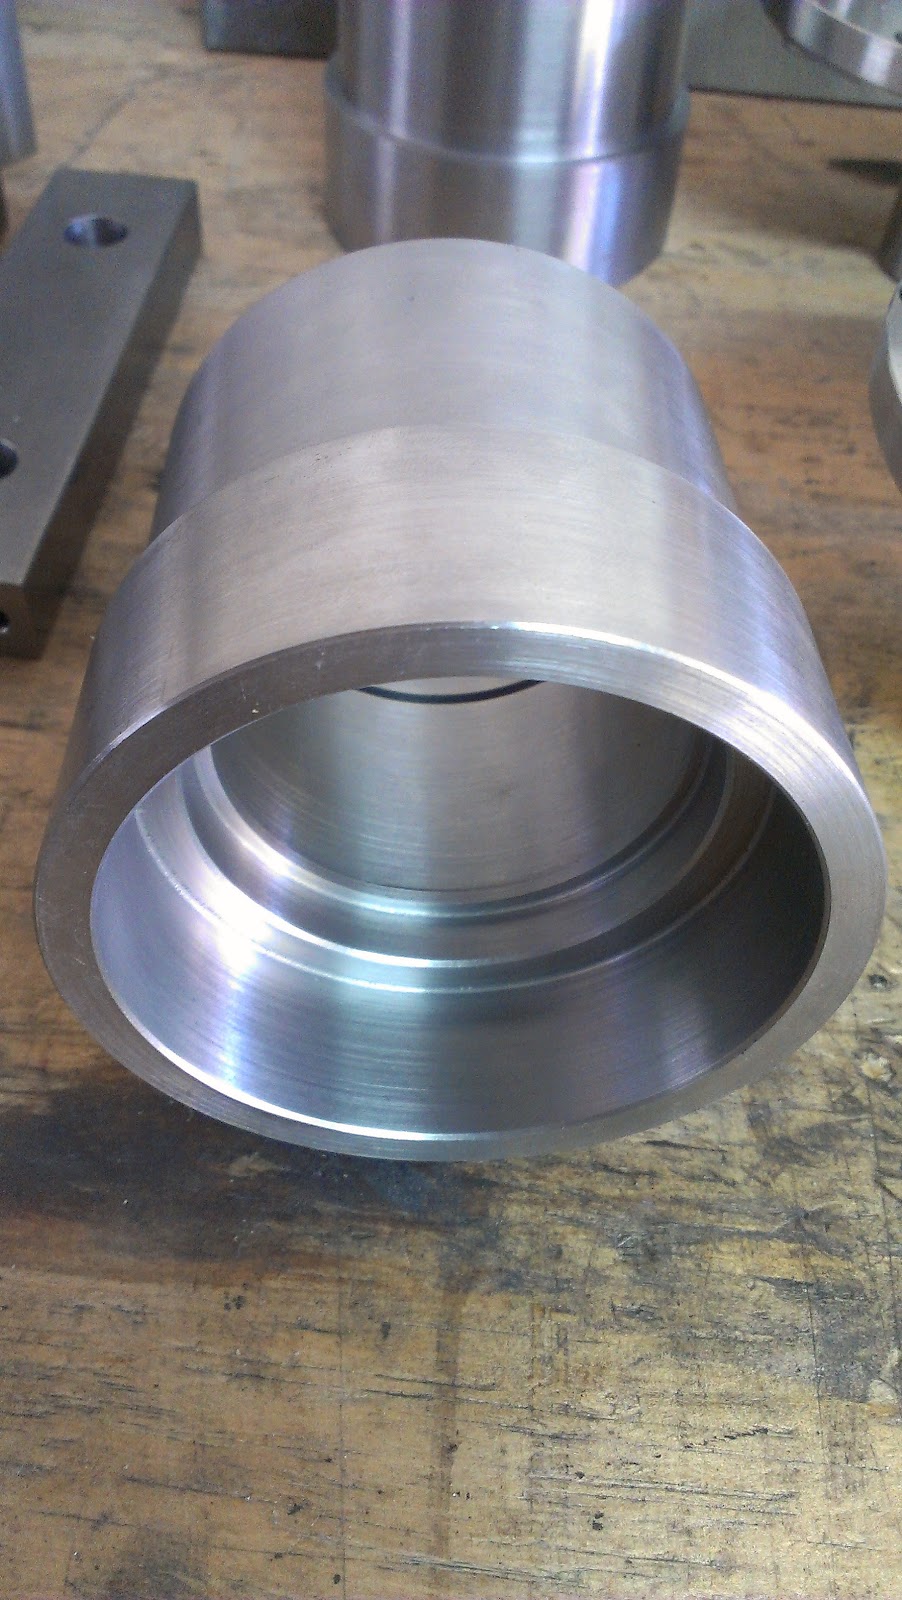
Machined Parts!

I finally finished all the machined parts for the suspension build. This is where i have spent a majority of my time for the last couple of months. Im getting the control arms, coil overs, and camber plates from Techno Toy Tuning. The next month should be exciting. Stay tuned for welding and getting the car rolling!