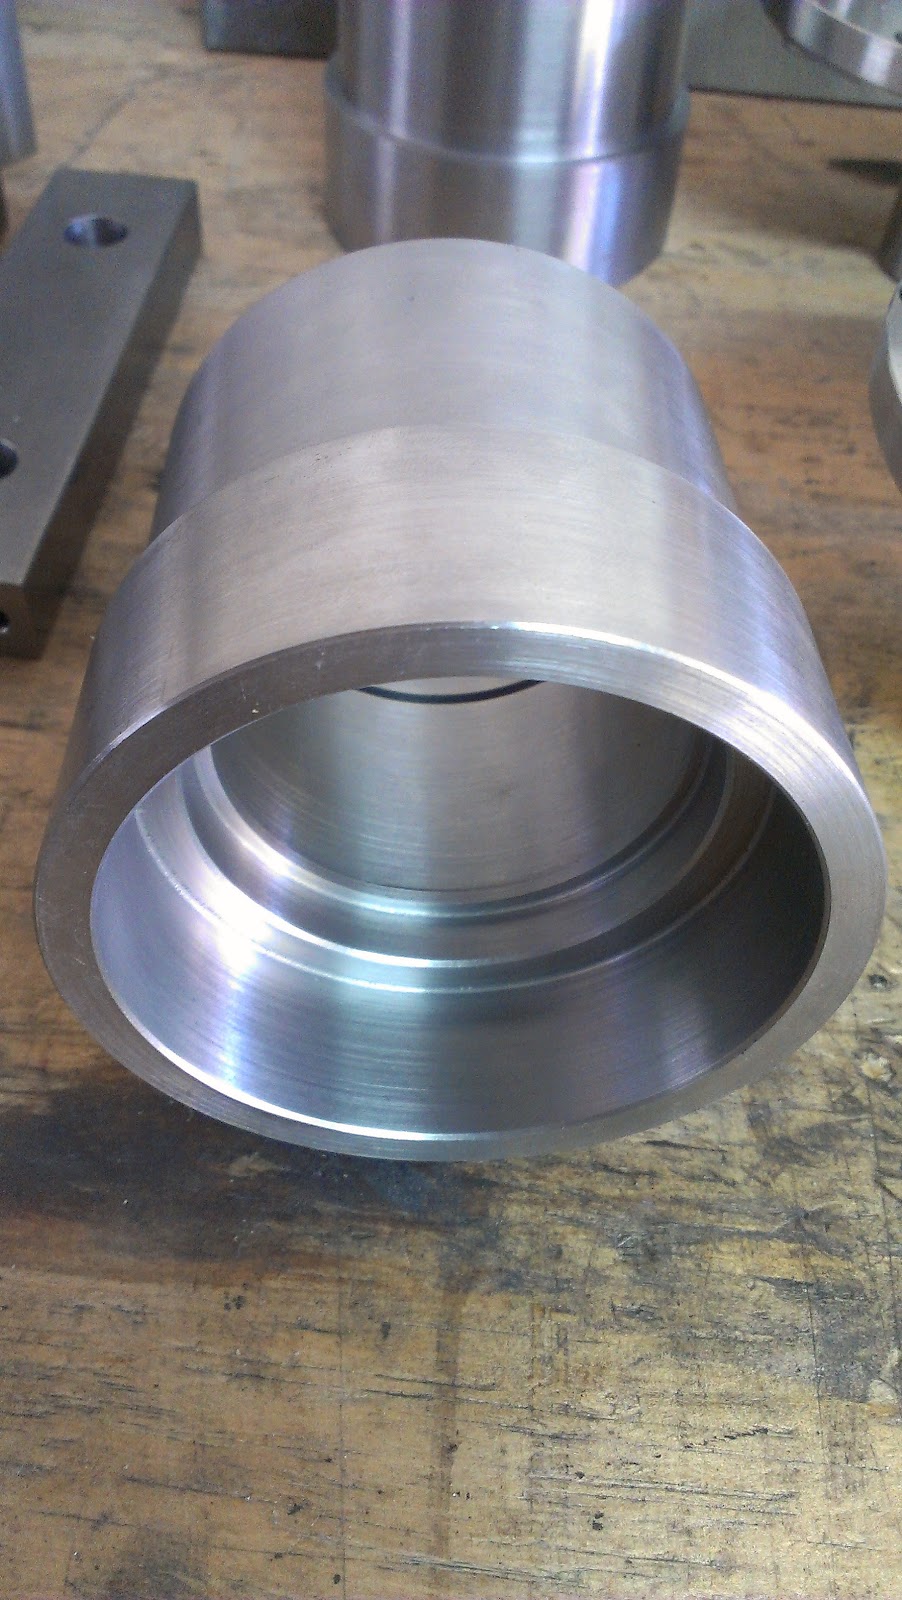
I got a large shipment of parts. i got a bunch of TTT parts and the waterjet parts that i need to weld up my corners.
I am also going to explain how i repaired my cowl and flushed the wiper holes. I wouldnt normally post tutorials but this mod is very tricky. i messed up my first one due to warping. Anyways you will need to go very slow with the welding and spread it out. i did about 1-2 tacks every 1 minute. I wouldnt go any faster than this. also make sure that the patches fit flush with no gaps. I used a vise grip to keep the patches flush with the parent panel when tacking them in place.
After all the welding was done i hammered the panel as flat as i could make it. the next step is to grind the weld down. go slow you dont want to warp it with to much heat. also i left the rolled lip on the underside of the wiper arms to minimize distortion, but you need to grind this down when your done so that you can shape the metal easier. Another trick is to angle the flap wheel at ~80 degrees to feather the weld bead down without taking alot of metal off. Hopefully the panel is still pretty flat and not warped. mine was still a little warped and i had to use a blow torch to heat the metal and a wet rag to rapidly cool it. this shrinks the metal and gets rid of the "oil" can effect.
Hopefully all these tips will help you repair your cowl and/or flush your wiper arm holes
Wednesday, September 19, 2012
Saturday, September 8, 2012
Machined Parts!
I finally finished all the machined parts for the suspension build. This is where i have spent a majority of my time for the last couple of months. Im getting the control arms, coil overs, and camber plates from Techno Toy Tuning. The next month should be exciting. Stay tuned for welding and getting the car rolling!
Sunday, May 6, 2012
New Datsun!
I got a new chassis and this one is in much better shape. The car was stripped down fairly easily this time around. a couple of updates: im going with a VQ35DE from a 350z. this engine fits behind the front axle line and i found a killer deal on the entire OEM electronics to run it. Im also going to fit some wilwood brakes and a hydraulic handbrake in the rear. the rear will be based of a subaru sti lsd and rear drive line. this means custom uprights; not only for the sti hubs but for the new brakes. the front is also going to get custom uprights. i figure it better to make a stiffer upright that can mount the brakes and use a 350z front wheel bearing than it is to make a new hub to mount to the stock front upright. I 3d scanned the front and rear uprights and the diamond racing wheel that i purchased for my spare tire/to get dimensions off of. Right now i am cleaning up the little bits, designing the corners and getting ready for sandblasting
Friday, February 3, 2012
Project Hiatus
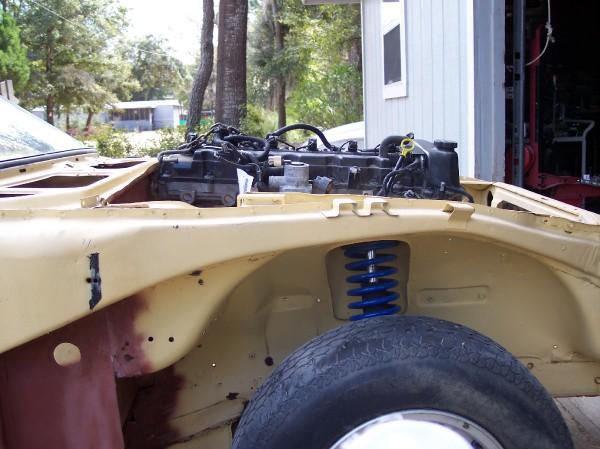
Project has stalled in the last couple of months. I had to sell the old datsun because it was too far gone. A piece of advice for those seeking a 240z shell. bite the bullet and buy one that is already running and was never stored near water. I am currently searching for a new one and i am aiming to get one by end of Feburary. My project direction has also changed a little bit as well. It turns out that the inline six (vortec 4200, ll6) will not fit. Someone else already tried it and there is no way it can fit unless the engine is sitting extremely low and the the hood is raised or a cowl is added. So I have decided to either get a 350z motor or an ecotec motor. Also the drivetrain has changed to either a Subaru STI diff and axles or a BMW e30 diff and axles. I dont have any pics to post but the suspension design is coming along. I just need to get some of these parts modeled so i can check clearances and suspension geometry. I found some more inspiration from a socal datsun owner by the user name of crazyoctopus. He didnt go crazy with his 240 but he gave it a nice rugged look especially with the lightweight Diamond Racing wheels. btw these are not my photos so obviously i am not taking credit for them. Also for future swappers i have the following dimensions of the Vortec 4200 (Atlas LL8) nd the LS1 engine
Engine Measurements or Dimensions
Vortec 4200
Length = 32" from bellhousing to front of engine not including harmonic balancer
Width = ~16" This one was hard to measure due to the intake plenum and exhaust manifold
Height = ~35" from bottom of pan to top of intake plenum with PCM
LS1 this includes accessories (you might take ~3" off the width with a relocated alternator
Length = 27.5"
Width = 30"
Height = 27.5"
Engine Measurements or Dimensions
Vortec 4200
Length = 32" from bellhousing to front of engine not including harmonic balancer
Width = ~16" This one was hard to measure due to the intake plenum and exhaust manifold
Height = ~35" from bottom of pan to top of intake plenum with PCM
LS1 this includes accessories (you might take ~3" off the width with a relocated alternator
Length = 27.5"
Width = 30"
Height = 27.5"
Subscribe to:
Posts (Atom)